


There are always things to learn when working in NetSuite. Take a look at this great tip on how to write a check within NetSuite!
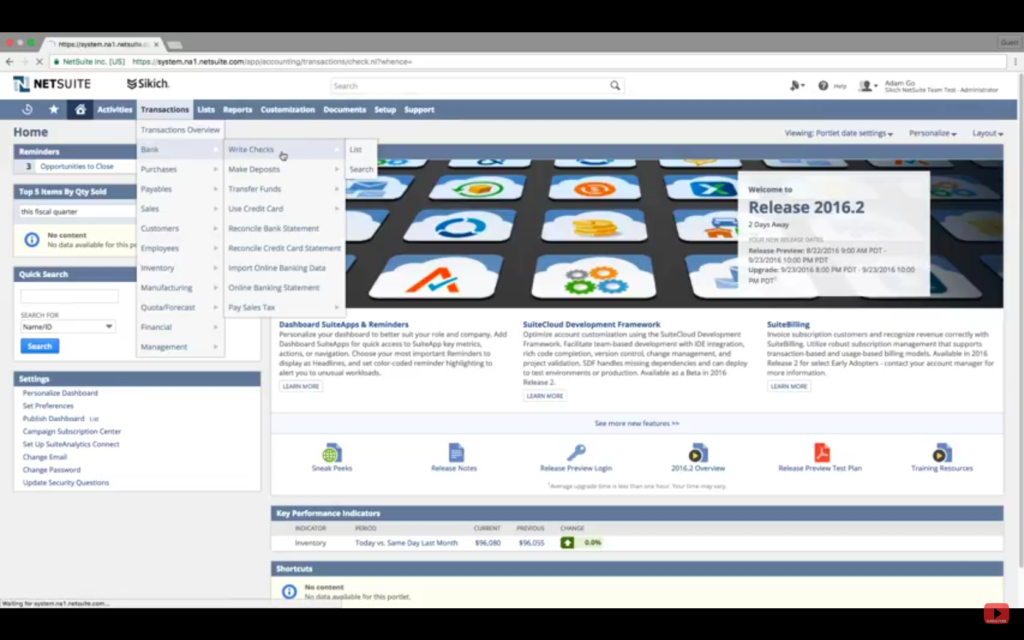
- Hover over Transactions, then Bank. Click Write Checks.
- In the Account field, select the bank account from which to withdraw the funds for this check. The balance field will show the current balance of the bank account you selected.
- In the Payee field, select to whom you’re writing the check. Once you select the Payee, their address information will automatically populate in the Address field from the payee record.
- In the Amount field, you can enter the amount for the check or leave it blank, and it will automatically populate as you add expenses and items in the fields below.
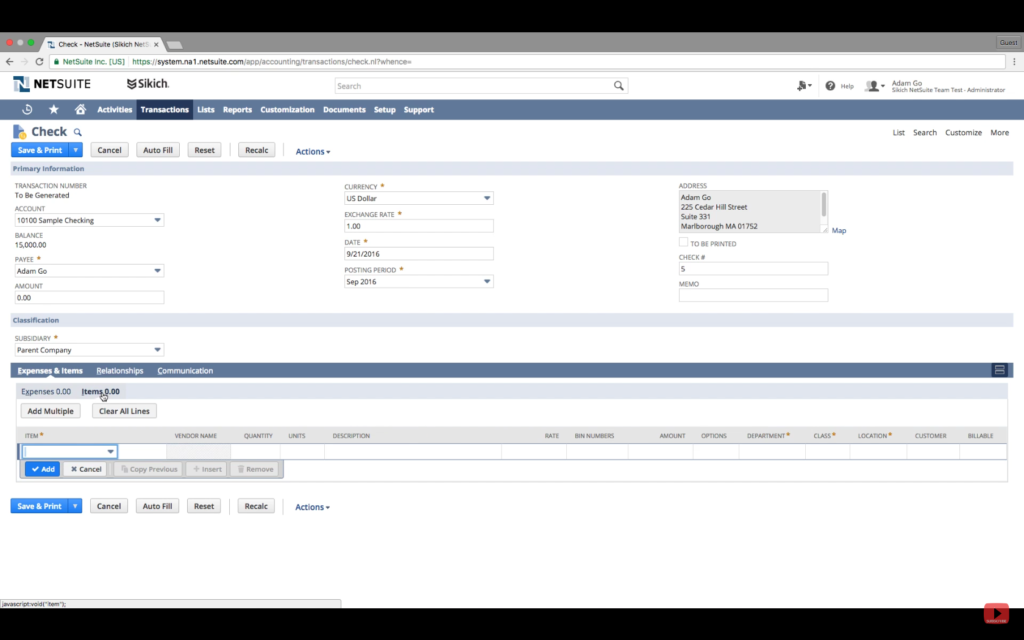
- In the Date field, today’s date will automatically populate, but if you would like a different date, you can manually enter the desired date. NetSuite automatically populates the Posting Period field based upon the Date field.
- Select the To Be Printed box in order to save the check in your print queue to print later. If you do not check this box, you are able to click Save & Print to print this check immediately.
- The Check # field will auto-fill with “To Print” if you selected the To Be Printed box, and you can choose the starting numbers when you print those checks from your queue. If you will immediately print this check when you save the transaction, NetSuite will automatically fill in the next check number. You can manually enter another number, but the next check number reverts to the standard pattern. Please note: You can also use this field to record ACH, ATM, or other reference numbers or text.
- You can use the Memo field to enter a memo for the check.
- Under the Expenses & Items subtab, you can enter the expenses and items associated with the check.
- Click the Expenses sub list and select any expenses associated with this transaction.
- Click the Item sub list and select any items associated with the transaction.
- On the Relationships subtab you can enter contact information for the payee.
- Under the Communication subtab, you can create events, tasks, keep track of phone calls, attach files or user notes associated with this check.
- Click Save upon completion.
Congratulations, you now can write and print checks without leaving NetSuite! If you want to learn more great tips about NetSuite, visit our YouTube playlist here, our other blogs here, or contact us.
This publication contains general information only and Sikich is not, by means of this publication, rendering accounting, business, financial, investment, legal, tax, or any other professional advice or services. This publication is not a substitute for such professional advice or services, nor should you use it as a basis for any decision, action or omission that may affect you or your business. Before making any decision, taking any action or omitting an action that may affect you or your business, you should consult a qualified professional advisor. In addition, this publication may contain certain content generated by an artificial intelligence (AI) language model. You acknowledge that Sikich shall not be responsible for any loss sustained by you or any person who relies on this publication.