


There are always great things to learn when working in NetSuite. Take a look at this great tip on how to create a NetSuite Opportunity Record!
- Hover over Transactions, Sales, and click Create Opportunities.
- The Opportunity number will be generated automatically when the transaction is saved.
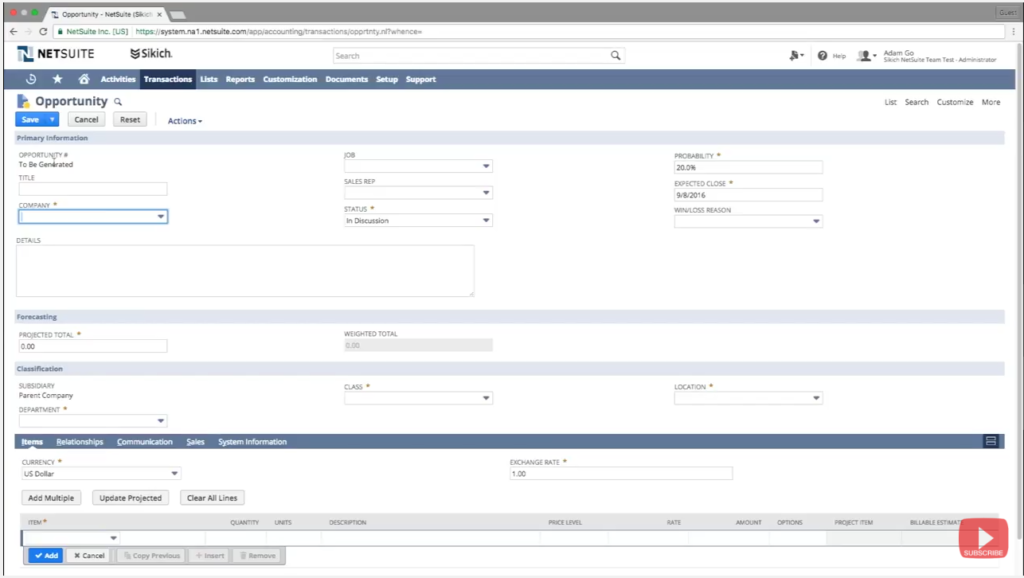
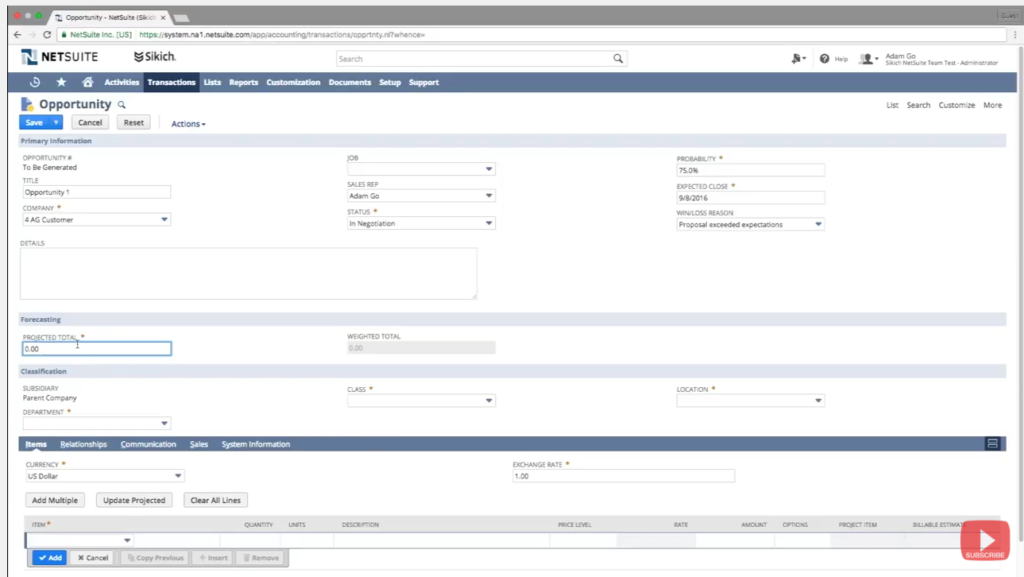
- Give the Opportunity a name in the Title field.
- Select the customer or prospect in the Company field.
- Select a status for the Opportunity from the drop-down menu in the Status field.
- Probability is entered according to the status selected, which is used to determine the weighted total of the Opportunity. Alternatively, you can manually enter a different Probability in this field.
- Fill in the date you expect the Opportunity to close in the Expected Close field.
- If desired, you can select a Win/Loss Reason from the drop-down list.
- The Projected Totals shows the amount that you’re anticipating to sell in this Opportunity. You can manually enter an amount in the Projected Totals field or, if you have items listed below, this field will reflect the total amount of your items.
- The Weighted Total is a calculated field that shows the Projected Total times the Probability.
- Any fields marked with a star are marked as mandatory. You cannot save the transaction until all mandatory fields are complete.
- If the customer is interested in specific products, you can enter them as line items under the Item subtab.
- If you’ve returned to this Opportunity to add specific items, you can click the Update Projected button to update your projected total with the amount of your items.
- From the Relationships subtab, you can log any contacts associated with the Opportunity as well as any competitors.
- On the Communications subtab, you can create any events, tasks or phone calls that you would like associated with the Opportunity. Additionally, you can attach any related files or user notes.
- Under the Sales subtab, you can enter information regarding the ability and interest level of the customer to make the purchase.
- Once you’ve finished entering the appropriate information for the Opportunity, save, and you’re done!
Congratulations, you can now create a NetSuite Opportunity Record. If you want to learn more great tips about NetSuite, visit our YouTube playlist, our other blog posts, or feel free to contact us at any time!
This publication contains general information only and Sikich is not, by means of this publication, rendering accounting, business, financial, investment, legal, tax, or any other professional advice or services. This publication is not a substitute for such professional advice or services, nor should you use it as a basis for any decision, action or omission that may affect you or your business. Before making any decision, taking any action or omitting an action that may affect you or your business, you should consult a qualified professional advisor. In addition, this publication may contain certain content generated by an artificial intelligence (AI) language model. You acknowledge that Sikich shall not be responsible for any loss sustained by you or any person who relies on this publication.