

Setting up the Safe Pay module, also known as Positive Pay, inside Dynamics GP is a fairly easy process with the following user guide. Positive Pay is an automated cash-management service used by financial institutions employed to deter check fraud. Banks use Positive Pay to match the checks a company issues with those it presents for payment.
This step-by-step guide will take you from start to finish for the Safe Pay setup and file generation inside Dynamics GP.
Please Note: This was completed in GP 2018 in the sample Fabrikam database.
Confirm you have the Safe Pay module installed in Dynamics GP
- This is included in standard GP, but is not always installed.
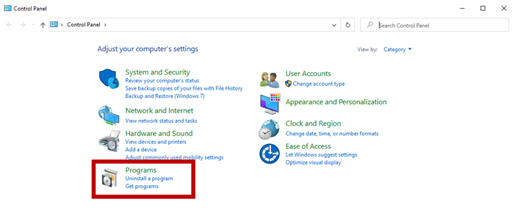
- You can check this by going to your Control Panel and opening Microsoft Dynamics GP under the Programs and Features.
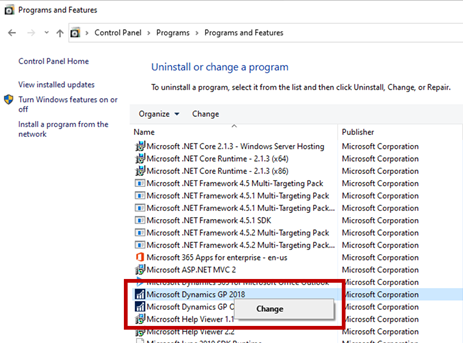
- Right-click on Microsoft Dynamics GP and select “Change.”
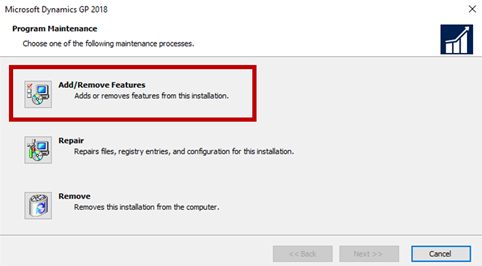
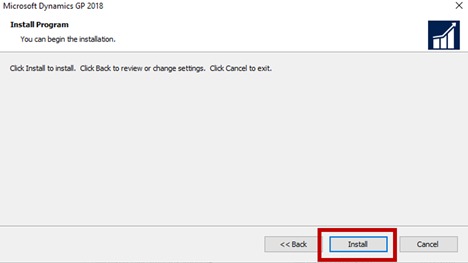
- This will launch a GP installation wizard.
- Click “Add or Remove Features” then “Next.”
- Scroll down to Safe Pay and ensure that it does not have a red X over it. If it does, select “Run from My Computer” then click “Next.”
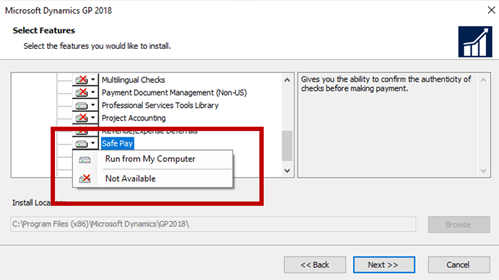
- Finally, click Install.
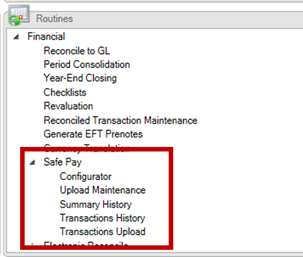
- Confirm you can see Safe Pay in Dynamics GP under Financial > Routines > Financial.
Obtain Safe Pay/Positive Pay file specifications from your bank
- Each bank has their own specifications for their Safe Pay format, so you need to request this documentation from your bank representative.
- Typically, this will be a PDF and will specify format types such as fixed, comma or tab delimited.
Create the Safe Pay file format in the Configurator window
- Financial > Routines > Safe Pay > Configurator
- You will need to click “Add” for the number of required lines/records inside the file according to your bank specs.
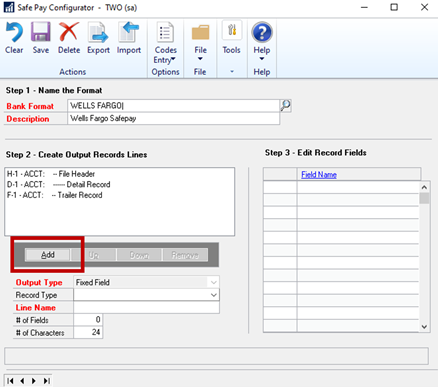
- You can give the line a name, number of fields, and a maximum number of characters allowed.
- Click on the record line to display the fields inside of it.
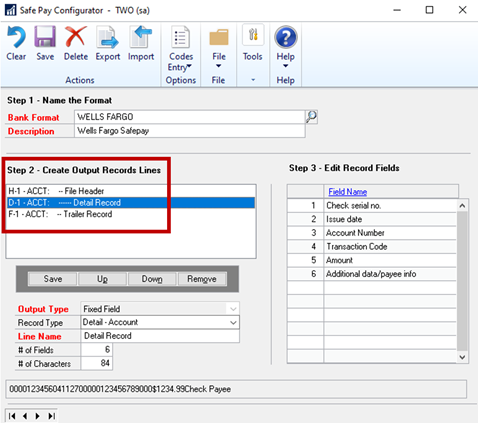
- Click on the Field Name to select the field. You can double click to open the field as well.
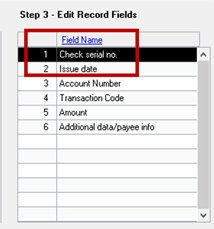
- Map the output fields to GP fields according to your individual bank specifications.
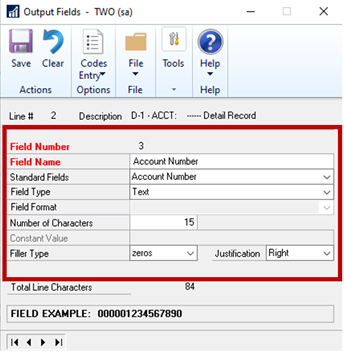
- You can specify the number of characters, justification, and filler type (if needed) for each field.
- The Field Example shows a sample output.
Validate a sample file with your bank
- It is recommended to create this file format in your Test GP company so you can generate a sample file for your bank to validate. Pro tip: It is also recommended to export and save a copy of the sample file just in case your test company is overwritten. See step c below for how to export.
- Once the sample Safe Pay file has been validated by the bank, you can bring the file format into your Live GP company.
- To do this, you will need to open the Configurator to export the file from one company and then you can do the same in your Live company to import it.

Use the Upload Maintenance window to configure your Bank Upload ID
- Financial > Routines > Safe Pay > Upload Maintenance
- Type in a new Bank Upload ID and tab off the field.
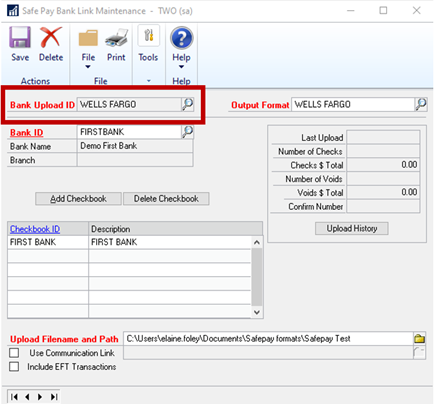
- Assign a Bank ID or create one if one does not exist already.
- Click “Add Checkbook” to insert your Checkbook ID in the list.
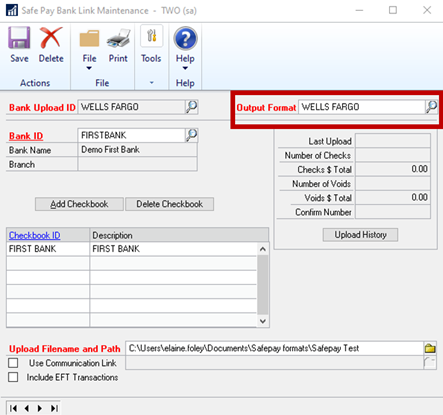
- Click the magnifying glass to select the Safe Pay output format that you created.
- Choose a file path for where the Safe Pay file should be created. Pro tip: It is recommended to choose a location that multiple users (such as an AP team) can access in case your AP user is out of the office or unavailable (i.e., put it on a shared network drive instead of your personal desktop).
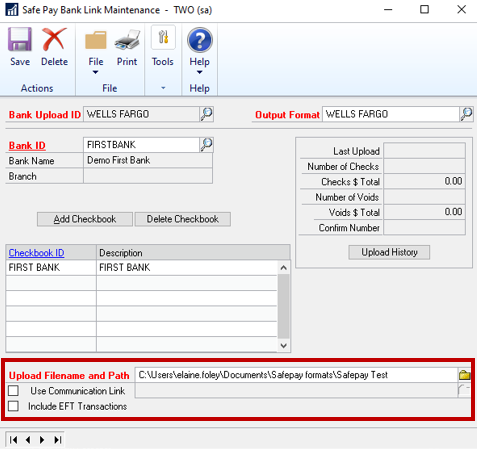
- Click Save.
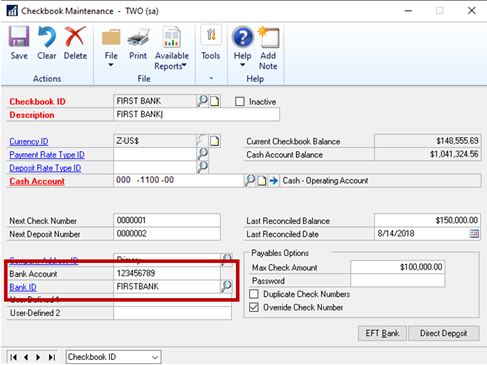
Configure your Safe Pay checkbook
- Determine which GP checkbook will be used for Safe Pay.
- Open your Checkbook maintenance window (Financial > Cards > Checkbook).
- Pull up the checkbook you are using for Safe Pay.
- Enter the Bank Account and Bank ID and click Save.
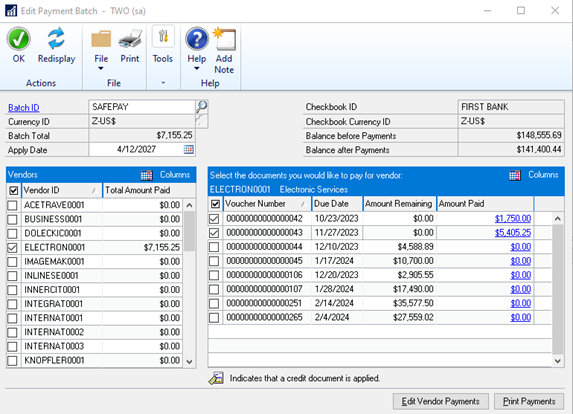
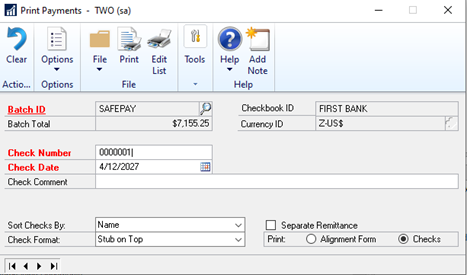
Complete a payment/check run in GP
- Post a payment batch as you normally would.

After posting your AP payments, generate the Safe Pay file
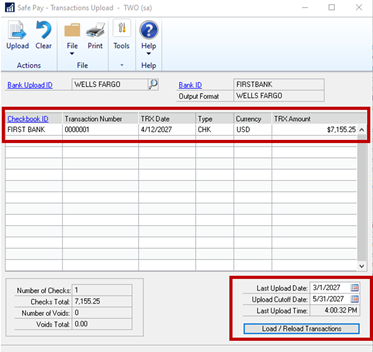
- Go to Financial > Routines > Safe Pay > Transactions Upload.
- Enter the Bank Upload ID that you created.
- Choose a “Last Upload Date” and “Upload Cutoff Date” to determine the date range that GP should scan for payments.
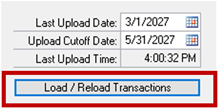
- Click “Load/Reload Transactions.”
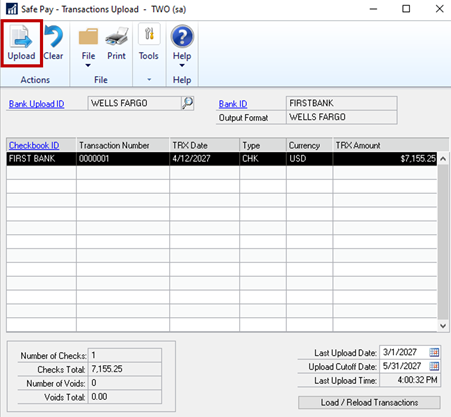
- The check run should populate in the window.
- Select the Transaction Number and click “Upload.”
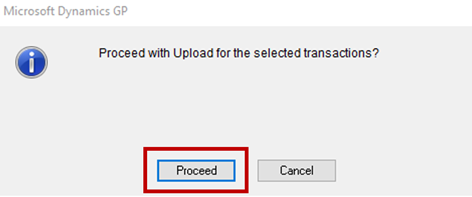
- Click “Proceed.”
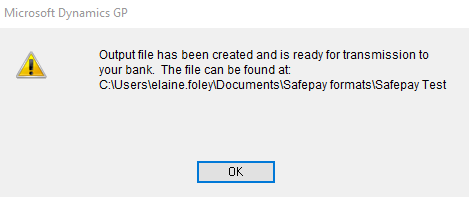
- You should receive confirmation that the file was generated and see the file path for where it was generated.
- Click “OK” on the next prompt.
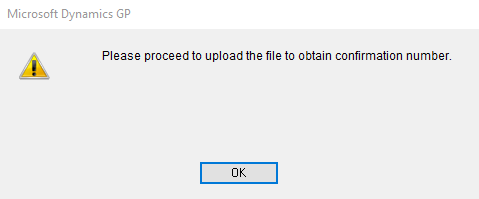
- GP will ask you for your bank confirmation number from your bank portal (if you choose to track that in GP).
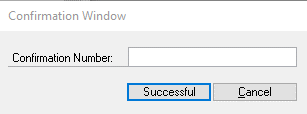
- Please Note: Entering a number here and clicking “Successful” will move this payment to history for GP’s Safe Pay windows, which means you will not be able to regenerate this batch in the Transactions Upload window afterward.
- However, you will be able to regenerate the payment batch in the Transactions History window.
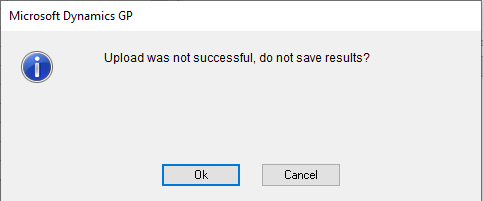
- If you choose to click ‘Cancel’, you will be able to regenerate this specific payment batch again and you will receive this prompt.
Finally, grab your file from the output location and upload it to your bank website/portal
Pro tip: As of Dynamics GP 2016 R2, the Safe Pay file will contain the Vendor Check Name from the actual check and not from the Vendor Master.
And that is all there is to it! If you have any questions or need any assistance with setting up your Safe Pay module in Dynamics GP, please reach out to Sikich.
This publication contains general information only and Sikich is not, by means of this publication, rendering accounting, business, financial, investment, legal, tax, or any other professional advice or services. This publication is not a substitute for such professional advice or services, nor should you use it as a basis for any decision, action or omission that may affect you or your business. Before making any decision, taking any action or omitting an action that may affect you or your business, you should consult a qualified professional advisor. In addition, this publication may contain certain content generated by an artificial intelligence (AI) language model. You acknowledge that Sikich shall not be responsible for any loss sustained by you or any person who relies on this publication.