


In many manufacturing companies, even those with a lot of Engineer-to-Order, many routings are very similar or even identical. For example: a large number of parts made on a CNC machine have the same run time.
In order to save time in creating and maintaining these routings, it is possible to create one common routing we could call “standard” or “template” in Microsoft Dynamics AX and Dynamics 365 for Finance and Operations. When new part numbers are created that need this routing, we simply create a routing version that connects the new item and the existing routing-id. (NOTE: The following is valid for all software versions. Screen shots are D365 for Finance and Operations.)
How to Use Master Routings
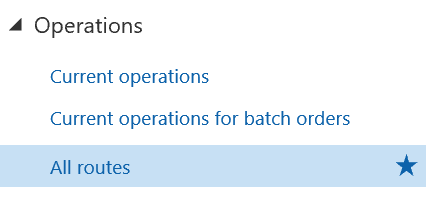
In the production control module, chose “All routes.”
Create a new routing-id. It helps when the number sequence is manual so we can give it a recognizable id that identifies it as a template. Otherwise the description would have to clearly indicate this is a master or standard routing.

Ignore the item group field (leave it blank). The bottom half of the screen will also remain blank. We do not associate any part number with this routing at this moment. It is a master routing.
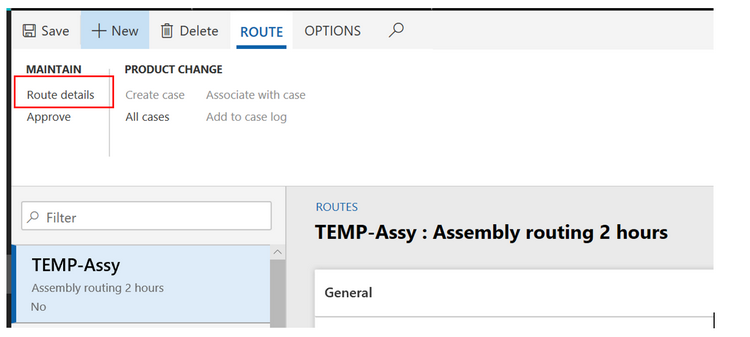
Click on “route details” to define the routing steps.

If you have never created routings this way, this screen takes some getting used to. Let’s look closely. The screen is very different from the routing screen seen from an item.
The top half of the screen mentions the operation number and name only. The bottom half has all the details for this operation. To browse operations, you click in the top of the screen on the operation you want and then below you see its details.

- Top half of screen: Only enter operation number and operation. If multiple operations, make sure the “next” field is filled in correctly (no need to fill in link type).
- Bottom half, Overview tab: Item code – All (that is the default) then you only have to enter enter Site and route group.
The other tables are the familiar tabs you know from the Item Routing screen:
- Set up: Enter the cost categories for set up and run. (unless your resource group or resource has defaults for them you can pull in when you enter your resource group or resource)
- Times: Enter the times for the operation
- Resource requirements: Choose Resource group or resource
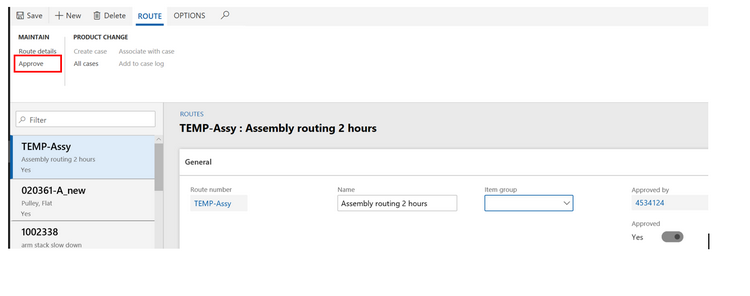
When finished, close the screen and return to the previous screen, where you can approve the routing.
- NOTE 1: there is no “routing feasibility” here. That is only available when you have linked a routing to an item
- NOTE 2: there is only one approval, for the routing itself. The other approval will happen when we connect an item to a routing.
We are now finished with the creation of our “standard routing” that can be used for many items.
How to Link a Master Routing to a New Item
From released products, we go to the Engineering action area and choose “Route.”

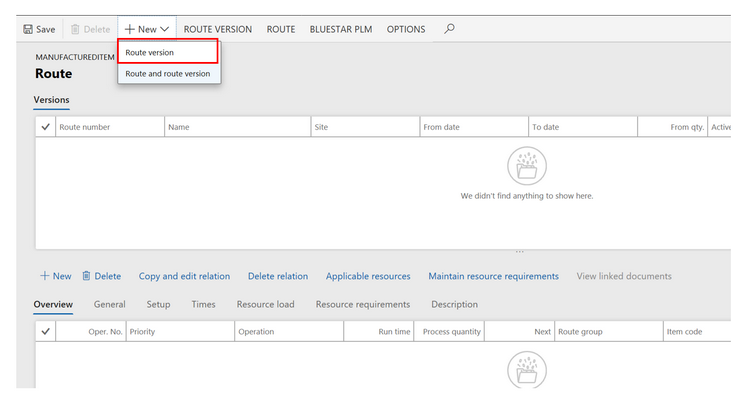
When we are on the item routing screen, we always use the second choice under “New.” But now we are using the first choice.
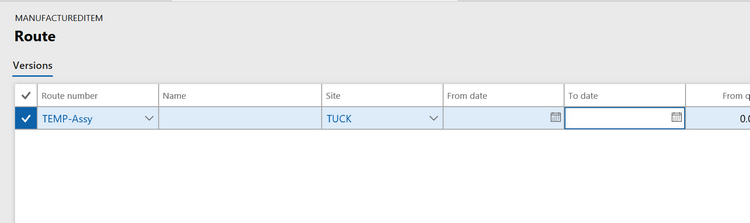
We are looking for an existing route number and we find our standard routing either by ID or by description. Then we enter the site as usual. Then we hit SAVE and watch the action in the bottom half of our screen!

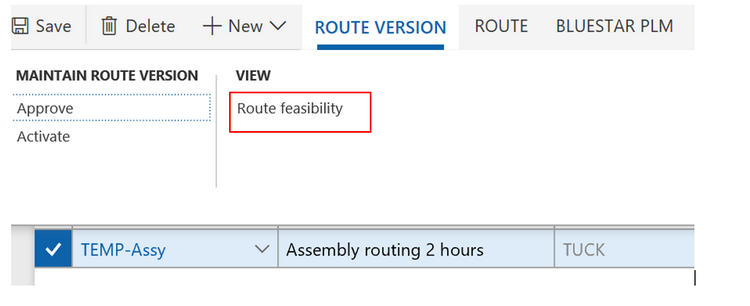
We see our routing steps pop in below. All we need to do now is Approve and Activate.
- NOTE: you can do the feasibility check now.
If you now return to “All routings” you will see the item in the versions section in the bottom.
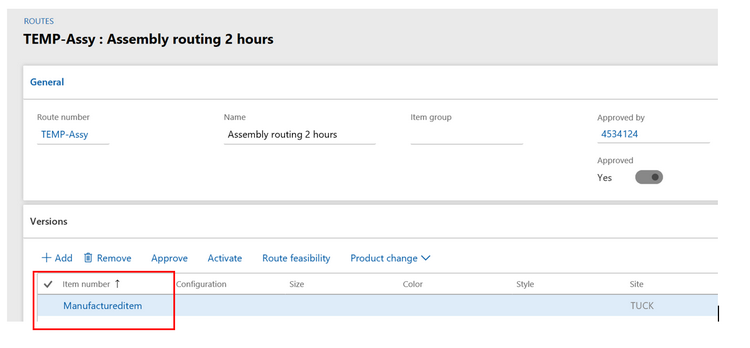
There can be as many items in this “Versions” list as you want. But now comes the interesting detail:
All the items listed here use the exact same routing. You did not make a copy of the standard routing, you made a connection, a relation. If you would now change the set up or run time in your standard routing, it would change set up and run time for all the items linked to this routing.
This is the concept of a “master routing” or a common routing that reduces the work needed to create new routings or maintain existing routings.
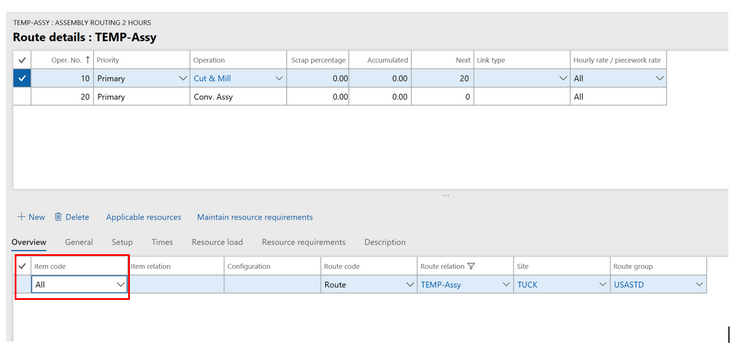
Why does this routing function as a “master routing”? The secret is in the relationship of each operation with items. Take a look in the routing details of your master routing and check each operation. It should show item code = “All.” Although the Routing version mentions the item, the operation does not mention the item. So we have a true one-to-many link of the operations in my master routing.
This publication contains general information only and Sikich is not, by means of this publication, rendering accounting, business, financial, investment, legal, tax, or any other professional advice or services. This publication is not a substitute for such professional advice or services, nor should you use it as a basis for any decision, action or omission that may affect you or your business. Before making any decision, taking any action or omitting an action that may affect you or your business, you should consult a qualified professional advisor. In addition, this publication may contain certain content generated by an artificial intelligence (AI) language model. You acknowledge that Sikich shall not be responsible for any loss sustained by you or any person who relies on this publication.