


In Part 2 of this series, we set up the environments involved in the integrations and the PowerApps Connections to each. Here in Part 3 we will set up the Common Data Service (CDS) Data Integrator between Dynamics 365 (D365) Finance and Operations (F&O) and D365 Field Service to support data integration between these systems.
Setting Up The Common Data Service (CDS) Data Integrator with Field Service
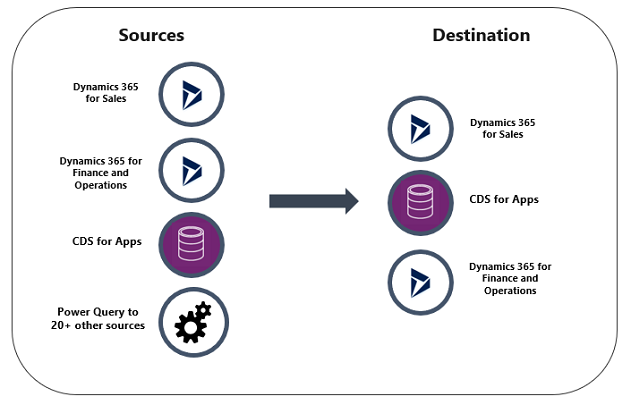
The CDS Data Integrator is used to integrate data with the CDS from a growing set of systems: Dynamics 365 F&O and Customer Engagement (Sales, Field Service, etc.), of course, but many others including competitor systems such as SalesForce, using Microsoft Power Query. An overview by Microsoft of the Data Integrator, including the concepts of Connection Sets, Integration Keys, Projects, and Templates can be found here.
In the early days of CDS more than two years ago, setting up integrations using Data Integrator was quite a chore because it had to be done entirely from scratch. Since then, Microsoft has released several prebuilt integration Project “Templates,” each packaged in D365 CE solutions. These Templates define data mappings and integration keys for many entities in Finance and Operations and Customer Engagement, enabling many standard integrations that can be modified or extended for your unique scenarios. And, fortunately for those of us in Field Service, many Sales and Field Service scenarios are supported.
Let’s put these integration Project Templates to use with a simple scenario: integrating the list of Warehouses maintained in D365 F&O over to D365 Field Service.
Our first step will be to install the Data Integrator solutions that contain the Microsoft Templates: “Prospect to Cash” and “Field Service Integration, Project and Inventory.”
First, check to see if you have either of the integrator solutions installed. If so, they will show in the D365 Admin as “Installed.”
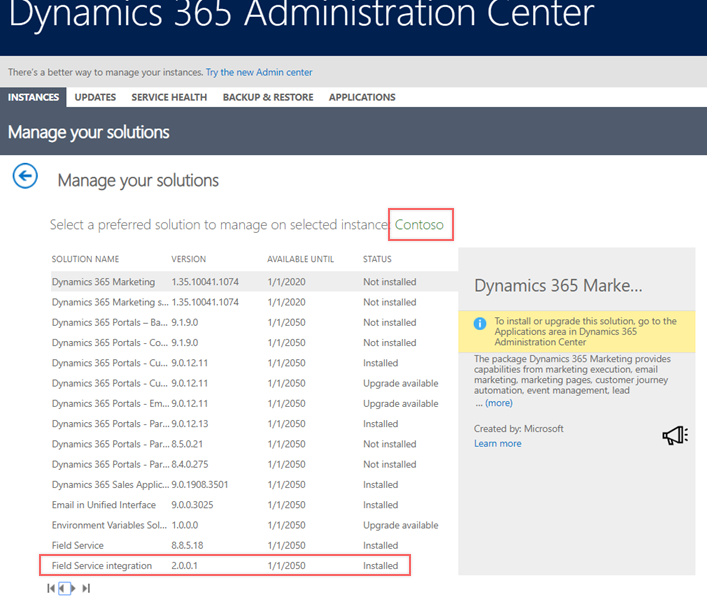
 If either does not appear in the list of solutions, or if they show but are not yet “Installed,” follow the steps below.
Installing the Data Integrator Projects
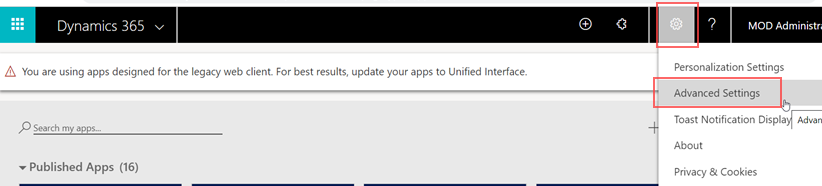
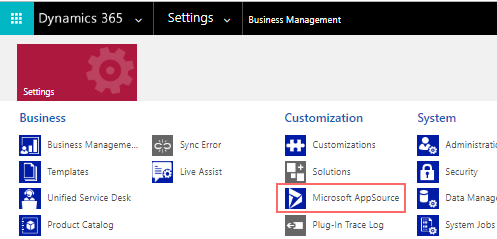
- In your D365 CE environment, open Advanced Settings, and then in the new window, navigate to Settings to launch Microsoft AppSource.
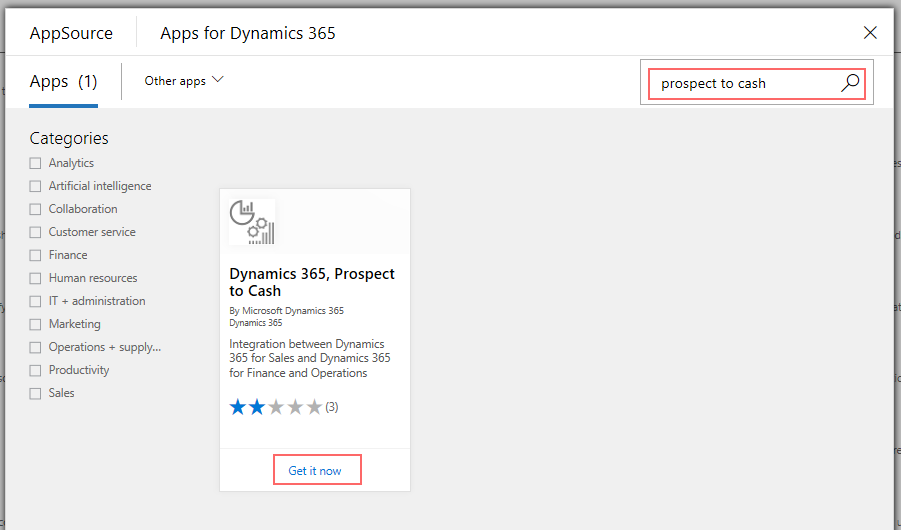
- Search for “Prospect to Cash” and when located choose Add it now and then Continue at the prompt.
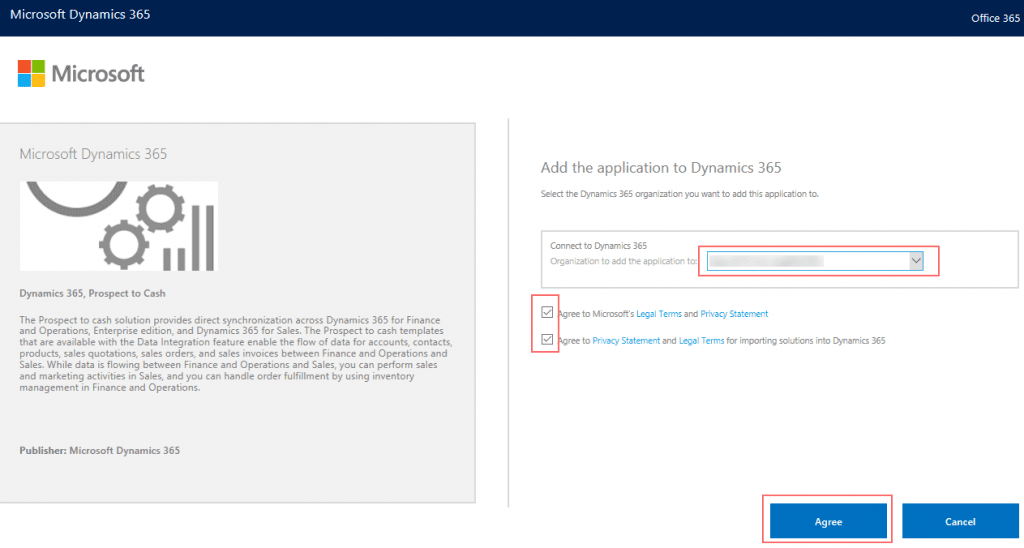
- Select the target environment, agree to the Terms, and select Agree to start the installation process. You should see the D365 Admin screen, and the “Prospect to Cash” solution status as “Installation Pending.”
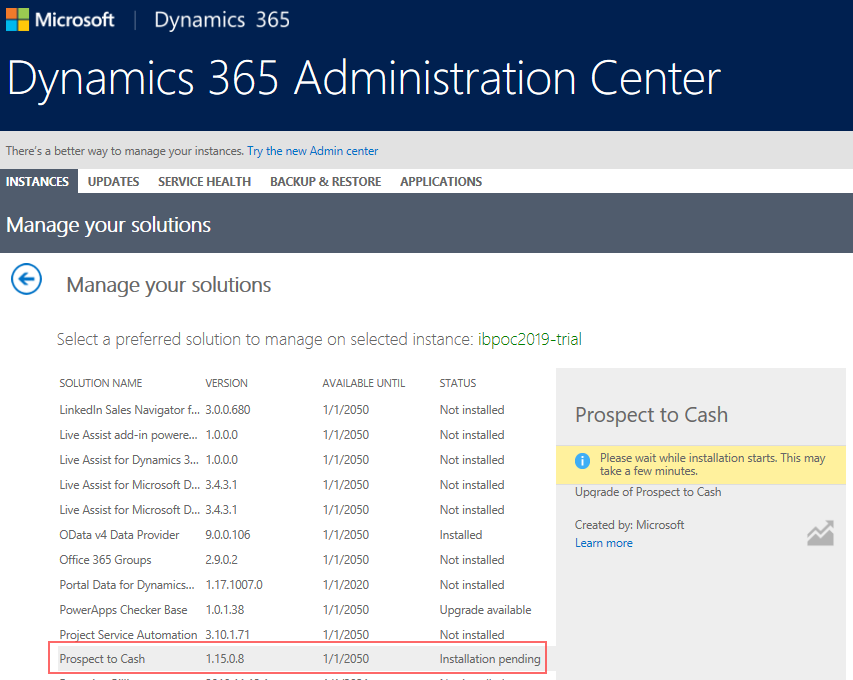
- Installation can take several minutes, even an hour or more. You can refresh the D365 Admin portal page to monitor progress. Once Prospect to Cash shows as “Installed,” move on to the next step.
- For the Field Service Integration, repeat the above process, but this time searching for and installing the “Field Service Integration, Project and Inventory” integration solution. This can also take a while to complete. Continue once it shows as “Installed.”
We now have all of the baseline ingredients to create some useful integrations!
Set Up CDS Data Integrator Connection Set
“Connection Sets” are used to match up the data sources involved in Data Integrator integrations, and leverage Connections like the ones we set up in Part 2 of this series. Let’s create a Connection Set to link our F&O and Field Service environments.
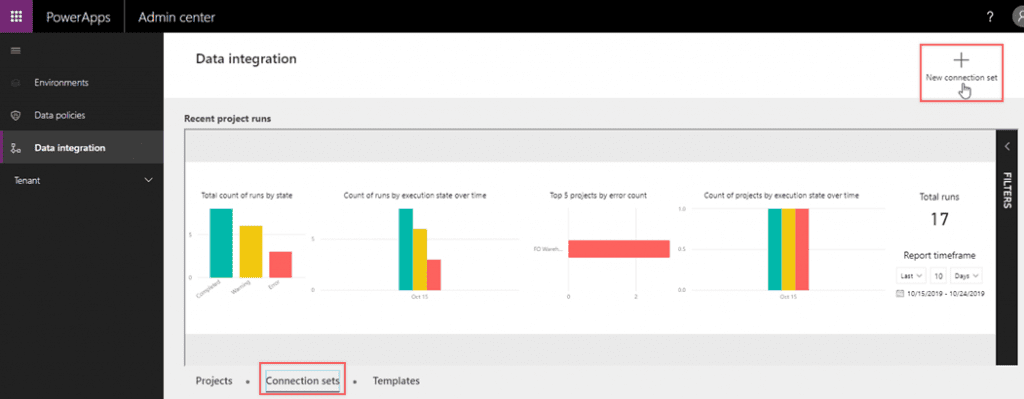
- Navigate to https://admin.powerplatform.microsoft.com/ext/DataIntegration
- Select “Connection Sets” and then “+ New Connection Set.”
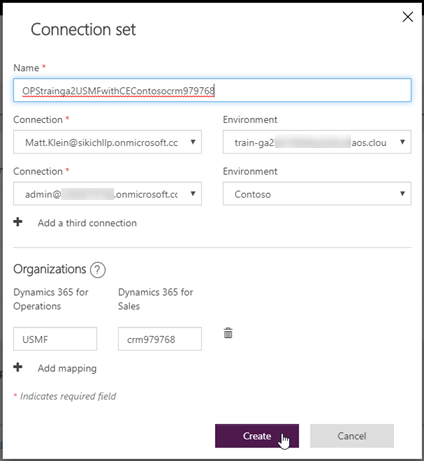
- On the form that appears:
- Provide a Name, which is strictly alphanumeric.
- Select the F&O Connection you created earlier, and then the environment you wish to connect.
- Select the D365 CE Connection and environment.
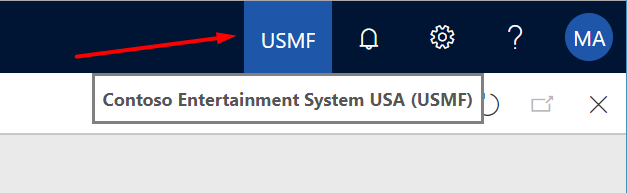
- Select the company on your target F&O instance that has plenty of sample data, and to which the Connection account has access.
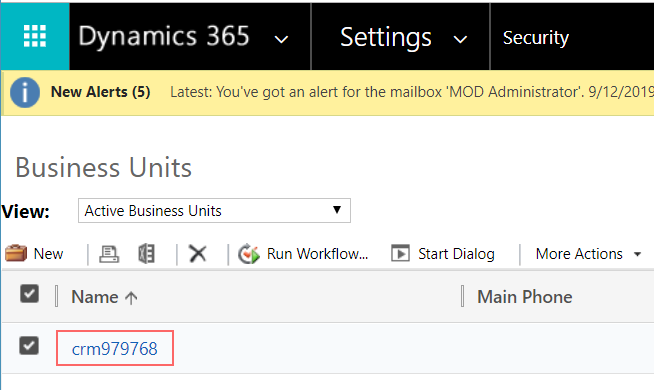
- Select the Business Unit of the CE instance that will be used for the integration.
Set Up the Data Integration Project
Now, we need to create an integration Project using the Connection Set we just defined and one of the Microsoft Integration Project Templates.
- Select Projects, and then New Project.

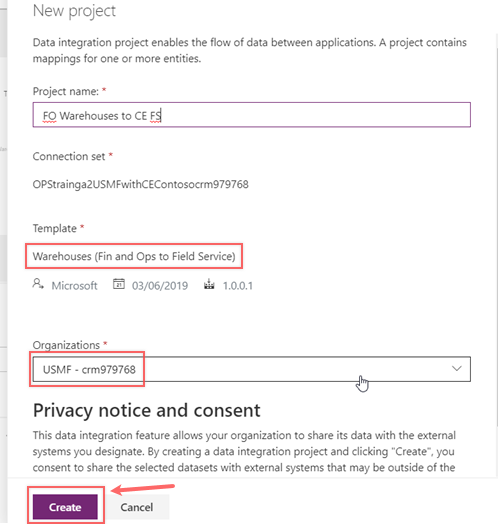
- Give the integration Project a descriptive name, choose the Connection Set you created, and then select Choose template.
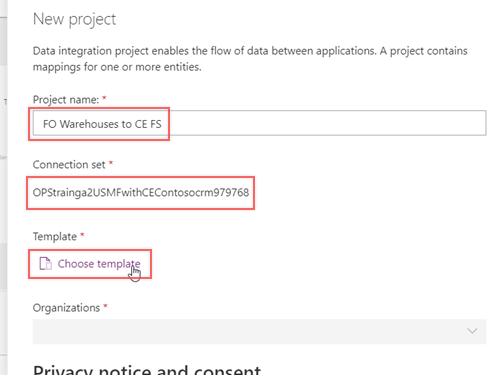
- Search for “Warehouse” to filter the long list of available templates and choose the latest version of the “Warehouses (Fin and Ops to Field Service)” template. Select Ok.
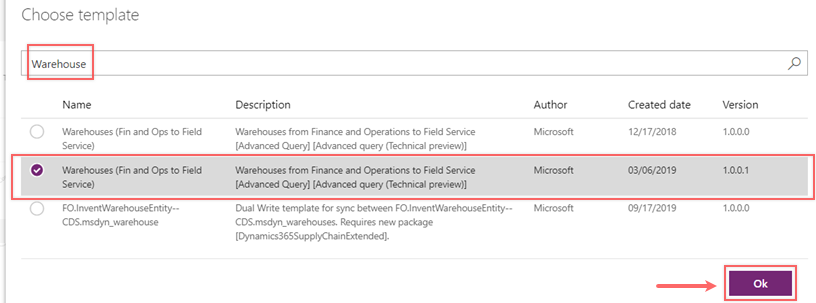 Notice the “Dual Write” template. In time, this will likely replace the earlier templates, including the one we are using for this walkthrough.
- The selected Template is listed on the New project form. Finally, select from the Organization mappings defined in the Connection Set—in this case, just the one we set up—and click Create.
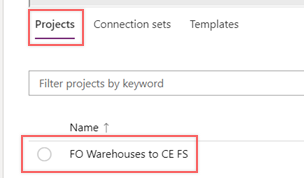
- The Project now shows up in the list. Click the Project name to show details.
- Under Tasks, you will see the distinct integration steps for the Project. For the Warehouse integration example, we have only one. More complex integrations, such as those with parent-child dependencies, will have multiple steps. For example, a Sales Order integration will first push over header records, followed by the order lines.
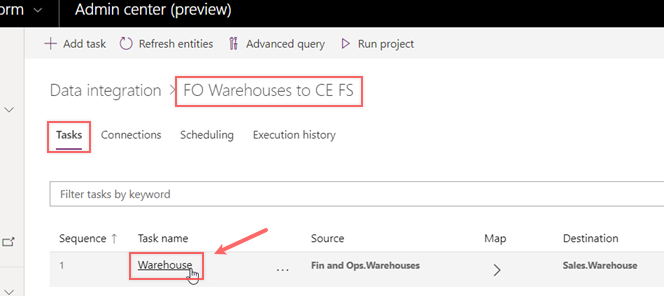
- Click “Warehouse” on the Task to review the data mapping and other details. Note the filter icon next to the Source, and the option to do Advanced query and filtering using Power Query. These features allow you to specify what subset of records from the Source are to be included in the integration. Advanced query also allows for data transformation, which enables the Data Integrator to be a true ETL tool. We will not dive deep into advanced querying in this series, but you can review these notes for more on the topic. It is definitely worth exploring.
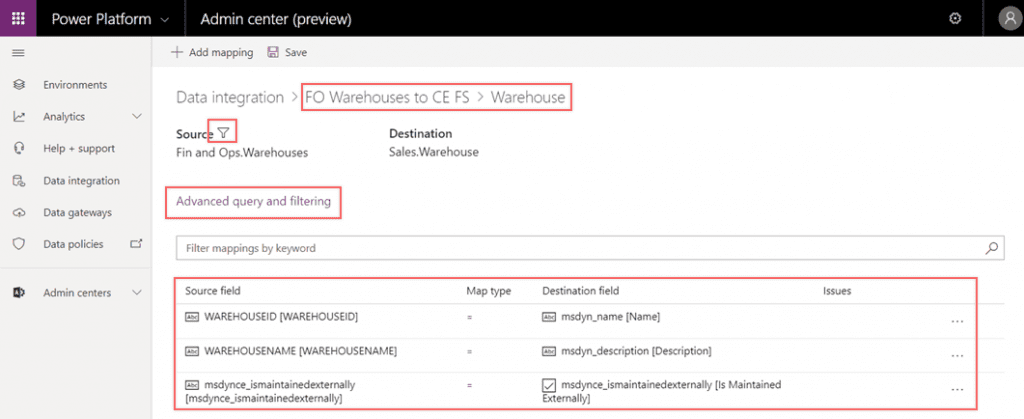
As you can see, our example Warehouse integration is very simple with only three fields mapped.
Note that the fields include an “ismaintainedexternally” field that indicates that the data is mastered in the source system – in this case, F&O. This attribute can be useful especially for two-way integrations, such as if, for example, a Warehouse is created in CE (with “ismaintainedexternally” = false), pushed over to F&O using Data Integrator, and then pushed back to CE from F&O to complete the round trip (with “ismaintainedexternally” = true). In a two-way integration, we would typically lock down the fields in CE mastered in F&O when “ismaintainedexternally” is true, in order to maintain data integrity and ownership.
Up to this point, we have installed the Microsoft CDS Data Integrator standard Projects, set up the Connection Set to link our environments, and created the Data Integrator Project. In Part 4, we will finally run the “Warehouse” CDS integration, and then extend it to pull additional useful data from F&O.
This publication contains general information only and Sikich is not, by means of this publication, rendering accounting, business, financial, investment, legal, tax, or any other professional advice or services. This publication is not a substitute for such professional advice or services, nor should you use it as a basis for any decision, action or omission that may affect you or your business. Before making any decision, taking any action or omitting an action that may affect you or your business, you should consult a qualified professional advisor. In addition, this publication may contain certain content generated by an artificial intelligence (AI) language model. You acknowledge that Sikich shall not be responsible for any loss sustained by you or any person who relies on this publication.